Campaign Step types
HireNow Portal > Campaign step types
User Story
As a recruiter of HireNow, there are various types of campaign steps that I can use to make a customisable campaign so that I can create a campaign that suit our hiring needs.
How to
Once you are on the campaign workflow step, either during Campaign Workflow creation or Campaign creation, when you add a workflow step the first thing you will have to do is select a step type. The step types available are:
- D,E & I Form
- Document Upload
- Application Form
- Assessment Test
- Interview
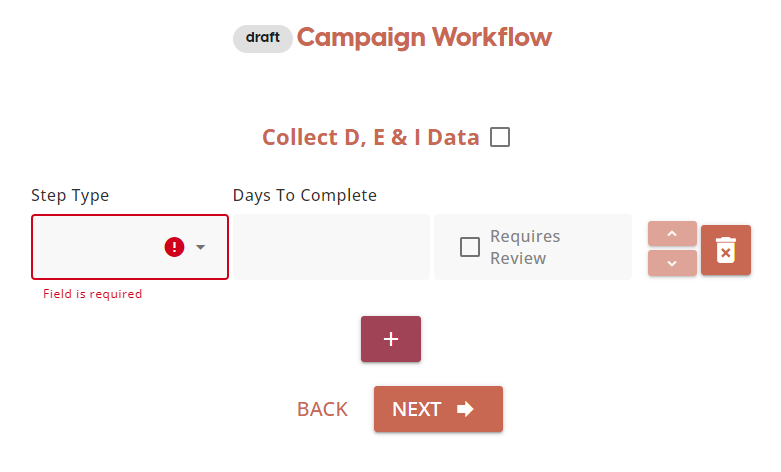
D,E & I Form
To enable collection of D,E & I data for a campaign, you must check this box during campaign creation. This will mean that the first step of each application will be the D,E & I form that is configured in User Management.
D,E & I Form Configuration - User Guide
All form submissions are hidden and cannot be accessed by users, to prevent anyone involved in the hiring process from accessing the information. To get statistics about campaigns or projects, please submit a request to support@skillsnow.com
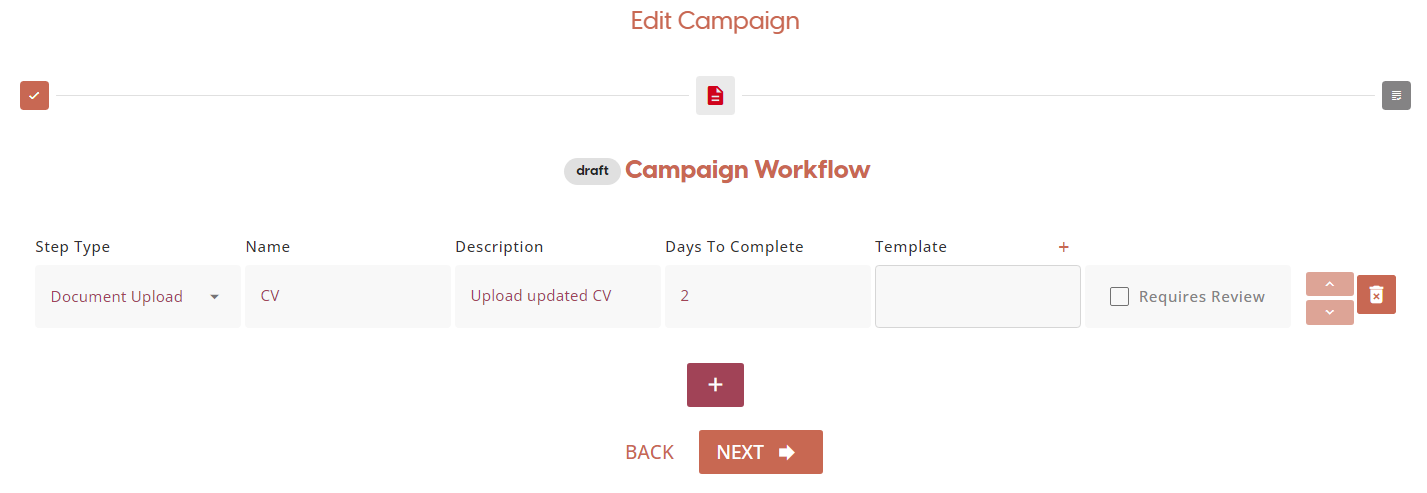
Document Upload
In this step, applicants are able to upload a wide range of different files. Examples of uses for this step include uploading a CV/resume, a cover letter, or a completed document template. Once they have uploaded their document, the recruiter can review their file to see if they would like to progress the applicant to the next stage.
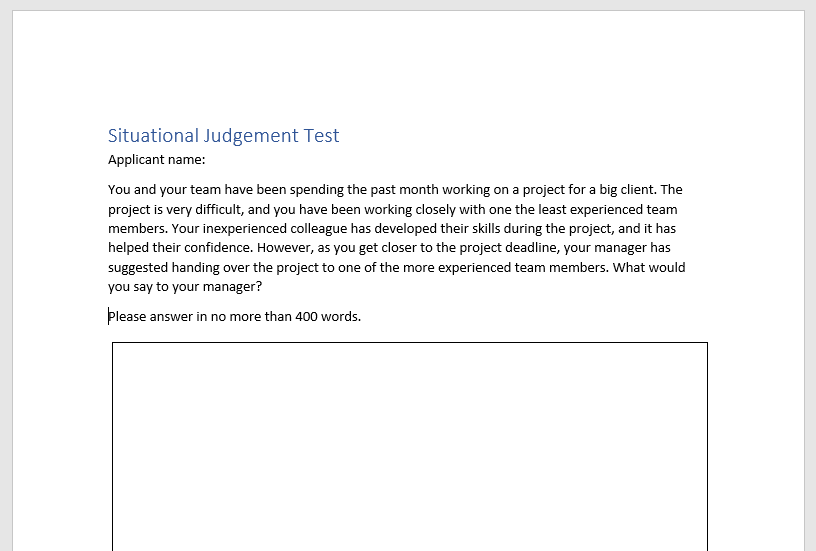
Alternatively, if the recruiter would like the applicant to fill out a form then upload it back onto SkillsNow, then they can create a document template.
Below is an example of a document template that the applicant can download from the platform to complete:
Fill out the Document Upload workflow details, then select the '+' in the Template box.

Once you select the '+', a new window will appear for you to upload a document from your device.
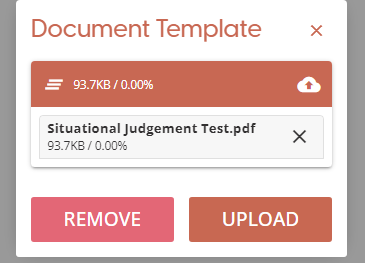
Press ‘UPLOAD’ to upload the document to the workflow step. The applicant will be able to see the document available to download onto their own device to complete. Once they have completed it, they have the option to upload the document back onto the platform for the recruiter to review their answers.
We suggest providing some instructions for the applicant in the workflow description box, such as “Please download the template to complete. Once you have finished, please upload your answers in a document.”
Application Form
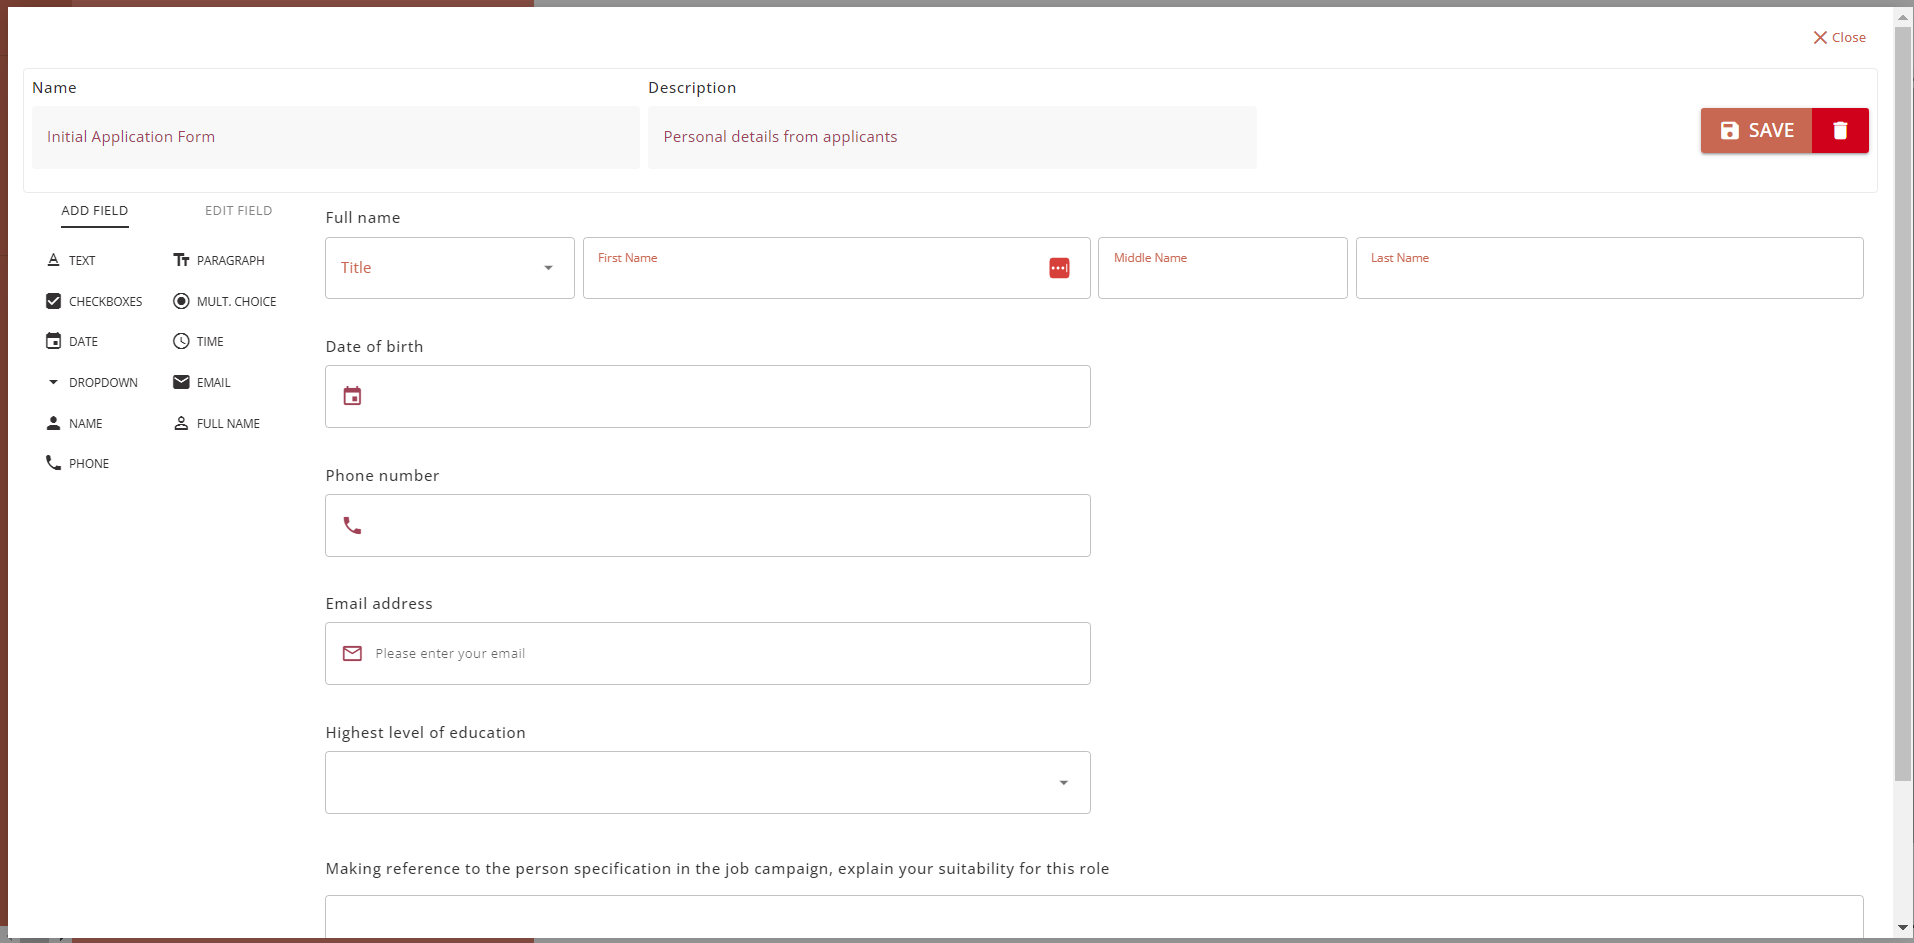
The second type of a campaign workflow step includes an Application Form. Here, the recruiter can select which application form they would like the candidate to complete as part of their application. Recruiters can create the application form on the Recruiter Form Builder page.
On the Application Forms tab in the Form Builder page, the recruiter can click on ‘Create application form’ to build a new application form to be used in any campaign.
In the form builder, recruiters can insert a variety of different form elements including checkboxes, multiple choice or a date selector.
When you have a form element selected, you can either copy the form element by clicking on the 'Copy Field' icon or delete it by clicking on the 'Delete Field' icon.
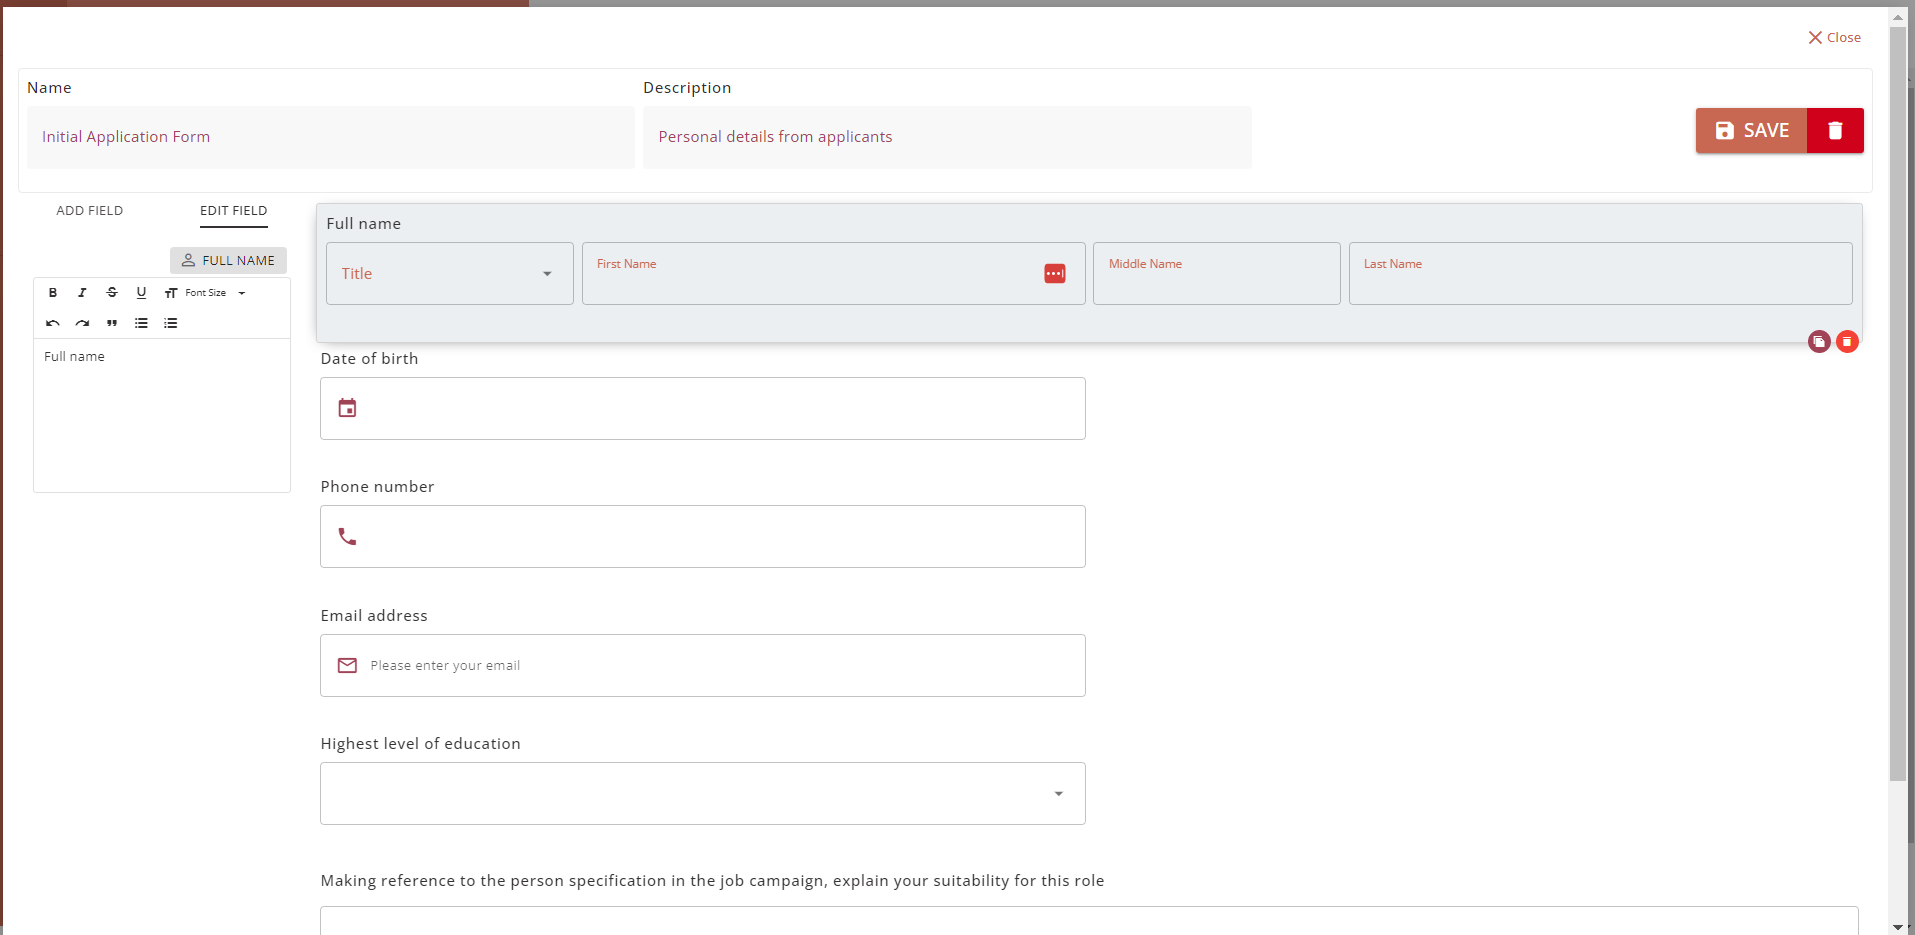

Once you have finished creating your form, click on the ‘SAVE’ button and the application form will be ready for selection in the Campaign Workflow builder page.
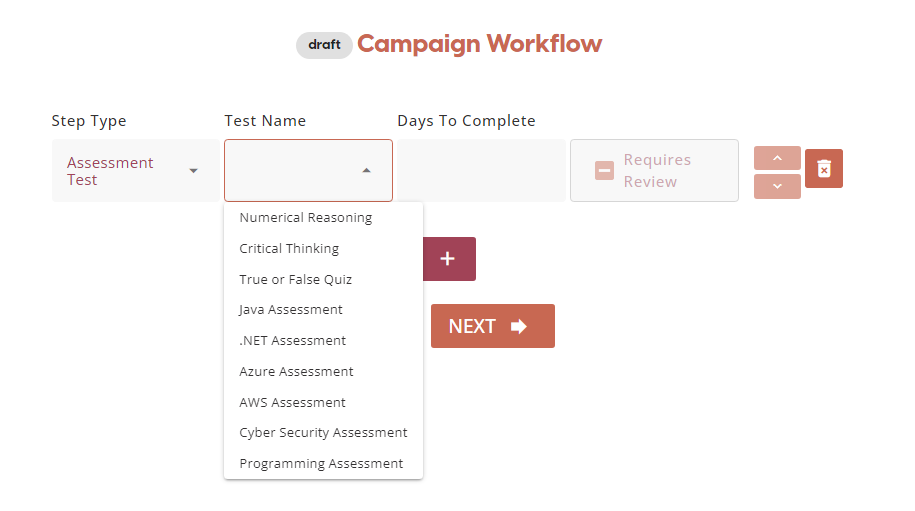
Assessment Test
The recruiter can include a timed Assessment Test as one of the campaign workflow steps. Just like the application forms, the assessment tests can be created in the Recruitment Form Builder page.
To create a new assessment test or edit an existing assessment test, click on the Assessment Forms tab on the Recruitment Form Builder page.
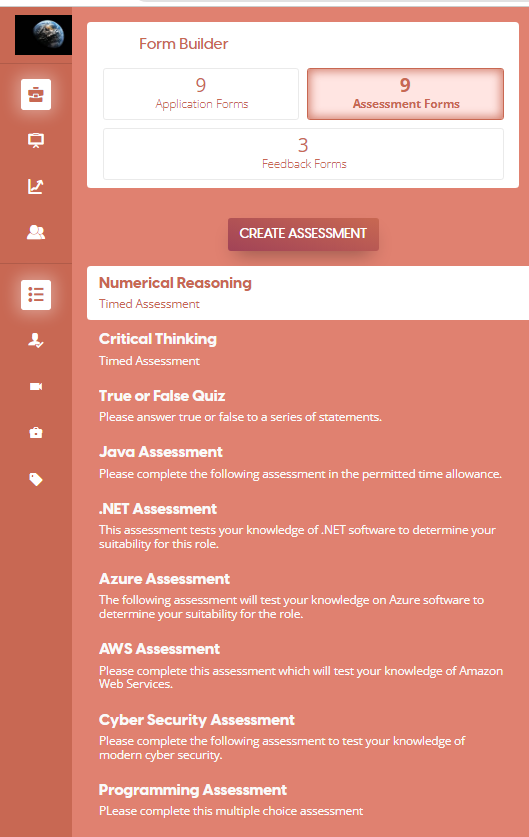
Click on ‘CREATE ASSESSMENT’ to create a new assessment form. The assessments are a collection of completly custom multiple choice questions.

Here, recruiters can set the name and description of the assessment. They can also set the amount of time allowed in minutes and the pass mark needed for applicants to progress onto the next stage in the application process. Assessments will always require review, so even if an applicant achieves a pass mark they will need to be progressed manually.
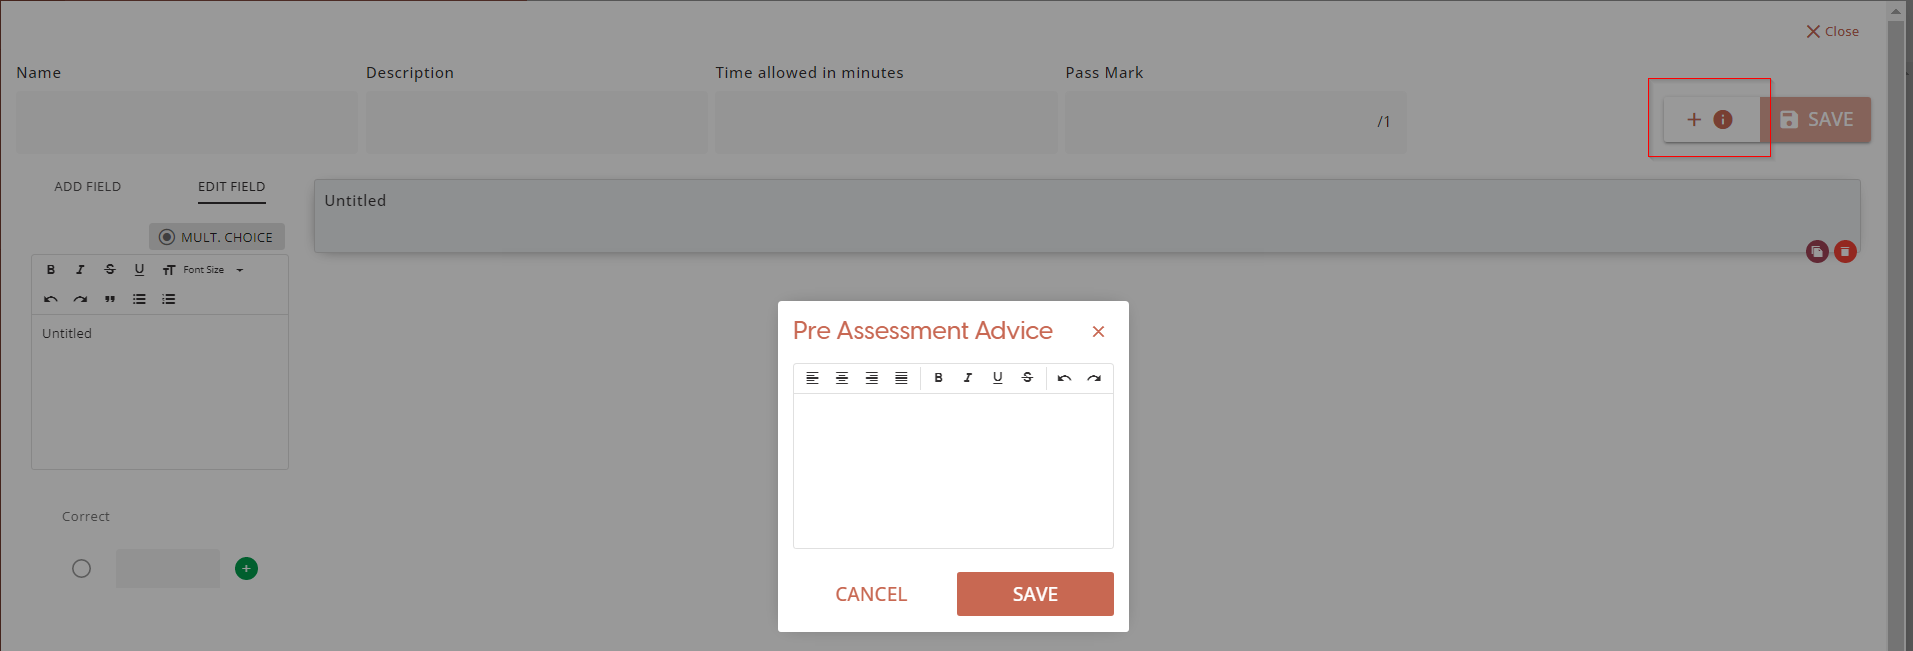
If the recruiter would like to set some instructions for the applicant to follow, then they can write them in the Pre Assessment Advice box that appears when they click on the ‘+ advice’ button. This advice will appear in the pop-up window when the applicant clicks on the 'Complete Assessment button', underneath the default advice given.
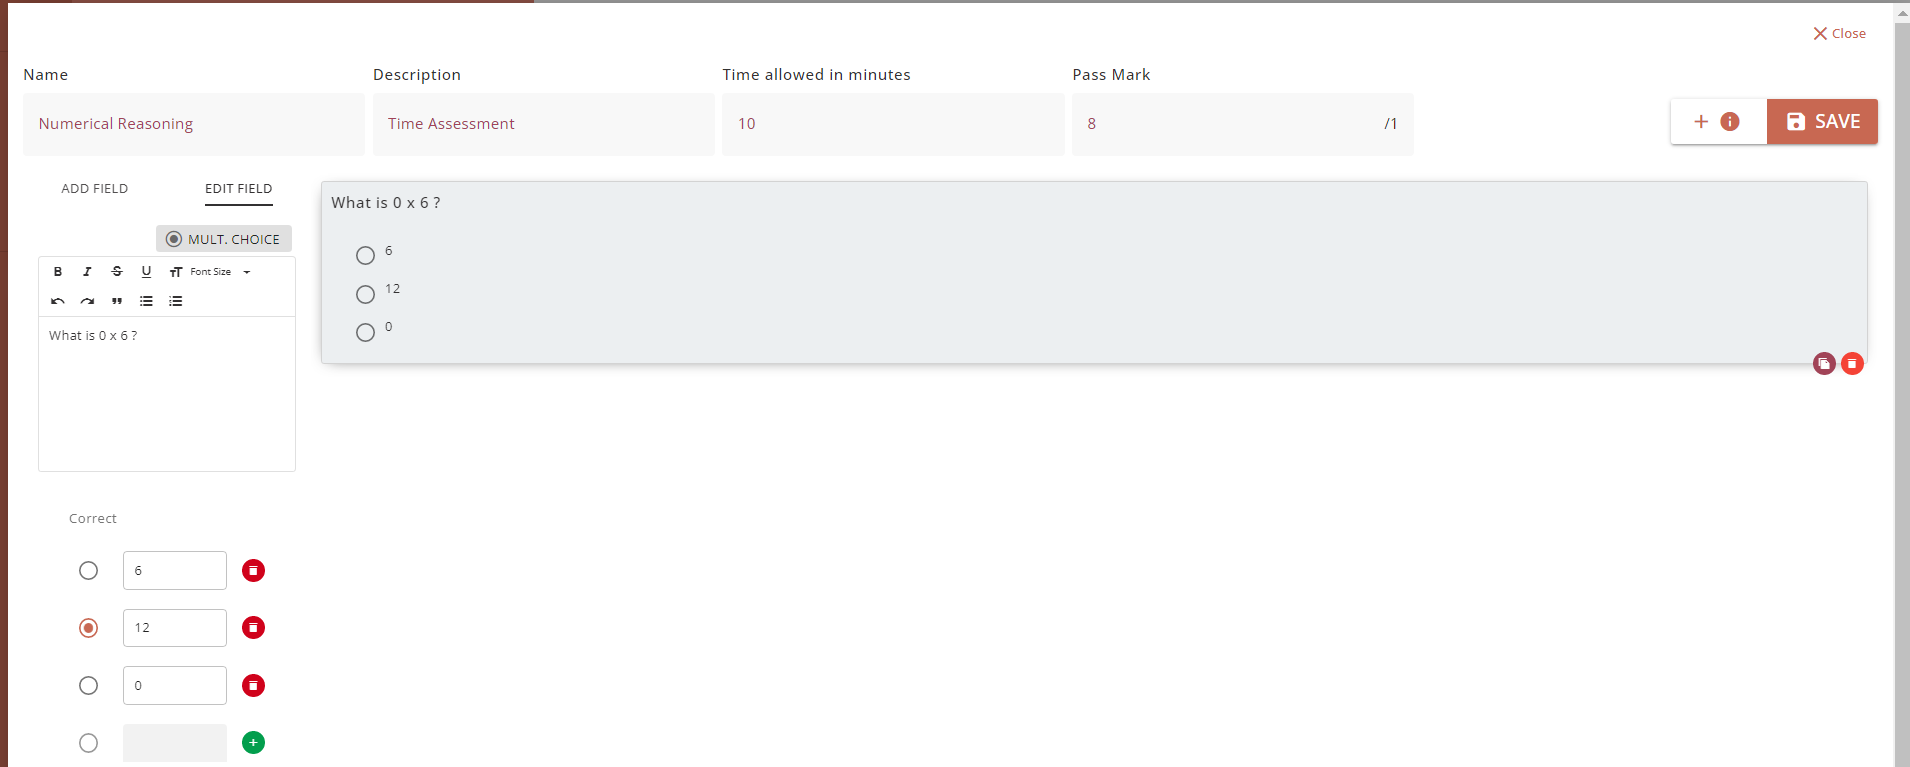
To add a field in the assessment form, select ‘ADD FIELD’ and enter in the text box a test question you would like to include.
To add an answer box, click on the green ‘+' button. The answer boxes can also be deleted by clicking on the red bin icon next to the box. After you enter an answer in a box, click on the green '+' to confirm you want to add it to the assessment.
To select one of the answer boxes as the correct answer, click on the empty circle next to the correct answer.
⚠️ The SAVE button will be disabled if the a correct answer is not set for any of the questions. If you are unable to save your assessment, check that all of your questions have a correct answer specified.
Below is an example of a completed assessment form.
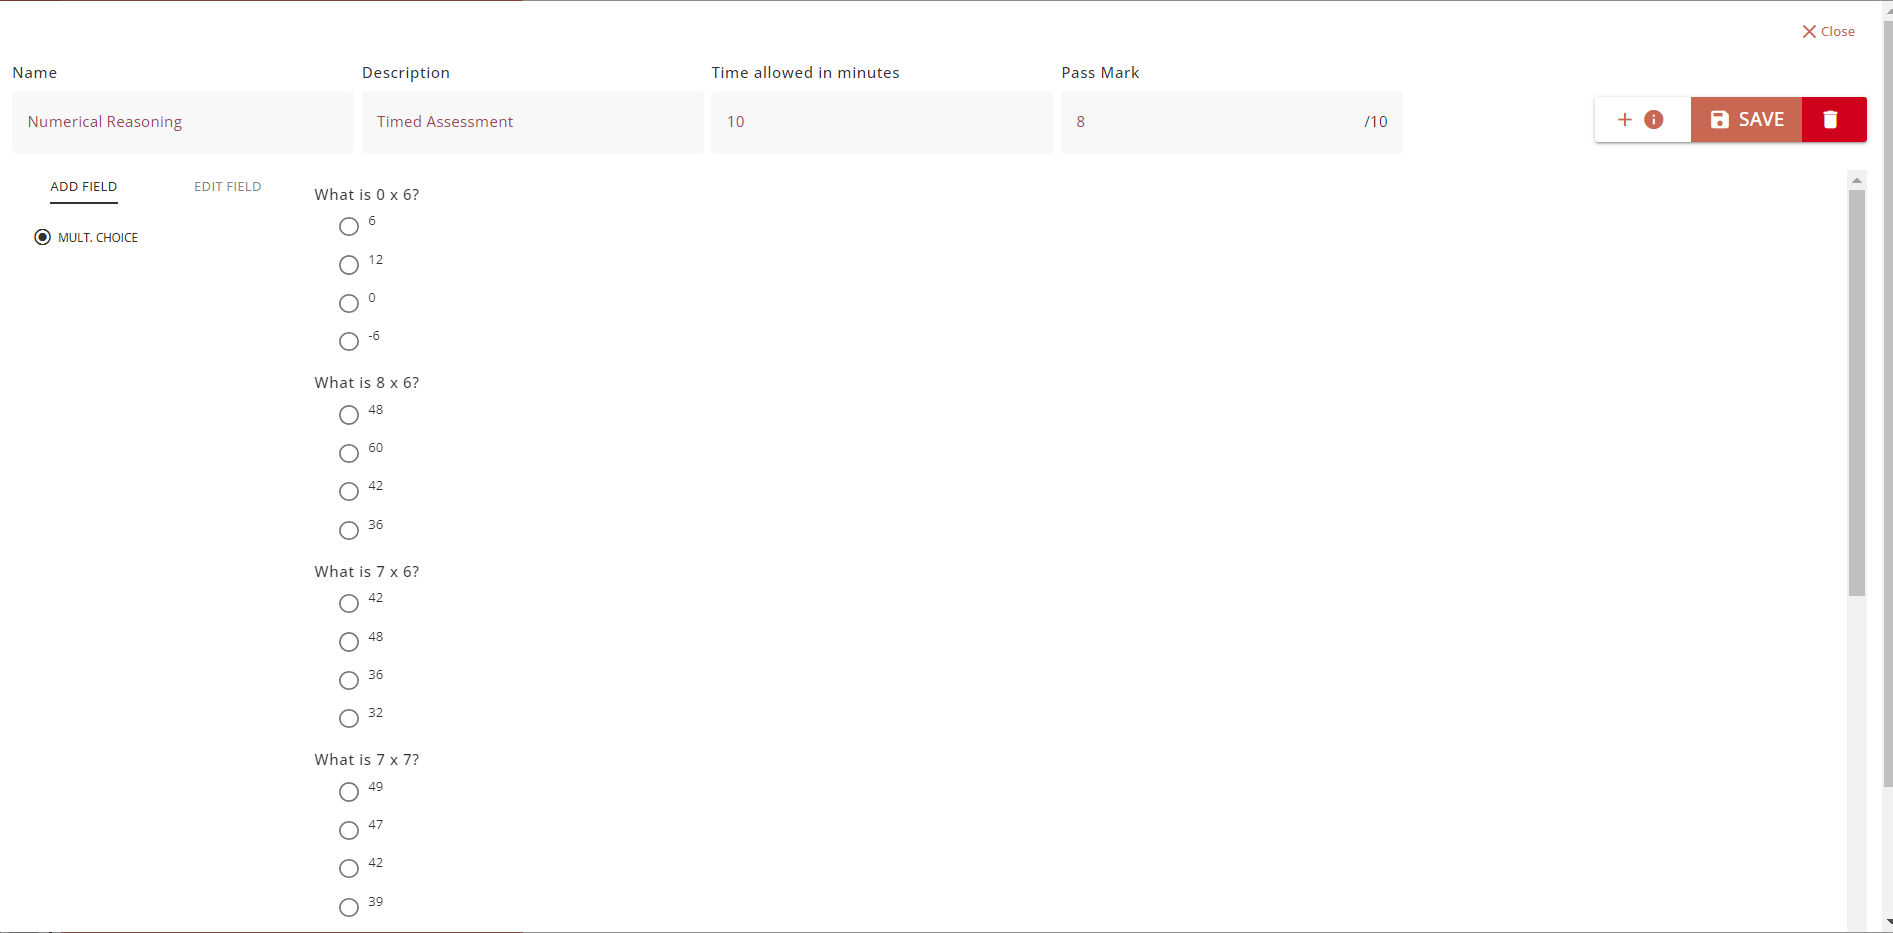
Once the assessment form has been completed, click on the ‘SAVE’ button.
The assessment test will now be available to be selected on the Campaign Workflow page in the Campaign Builder.

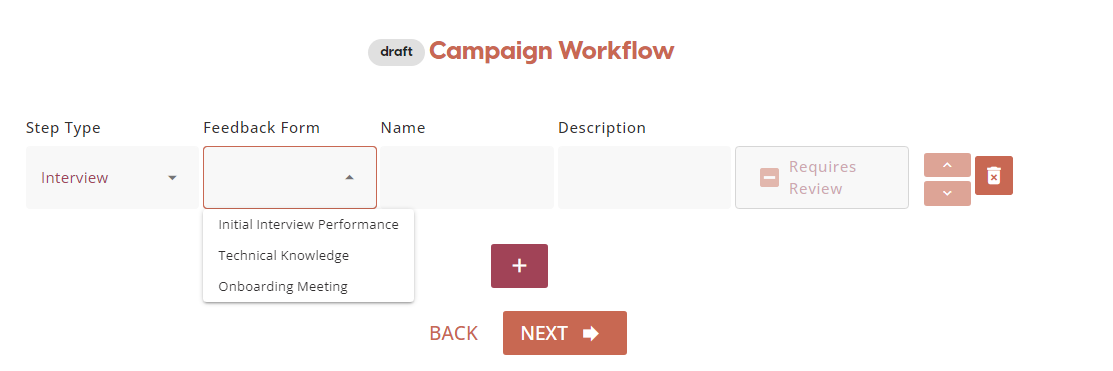
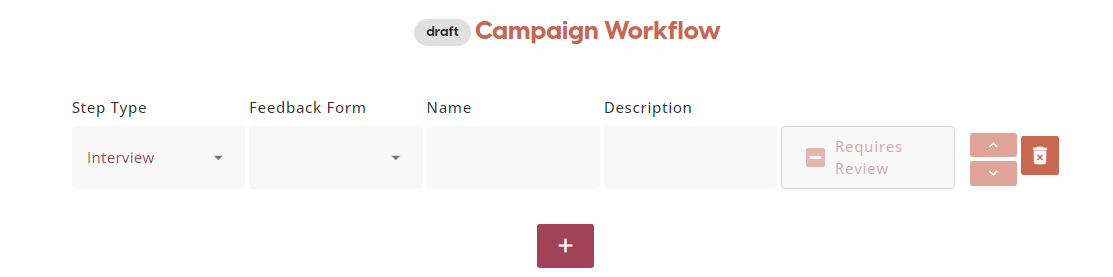
Interview
The final workflow step available for campaigns is an interview. The recruiter can fill out the name of the interview and a description of what will be covered during the interview. All interviews require review for the applicants to progress in their application. Depending on the campaign and the type of interview the recruiter would like to organise, they can create and select a feedback form to be completed in each individual interview step.
To create an interview feedback form or to edit an existing feedback form, the recruiter can go onto the Recruitment Form Builder page, then select the Feedback Forms tab.
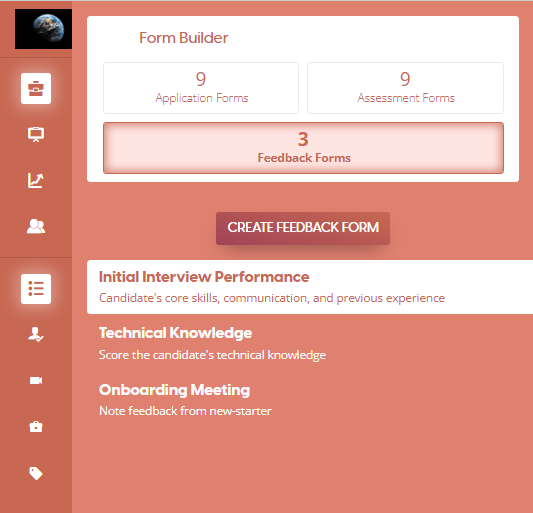
To create a new feedback form, click on the ‘CREATE FEEDBACK FORM’ button. Here, recruiters can enter the name of the feedback form and a description of what it will contain.

They can add fields for the feedback form by selecting ‘ADD FIELD’. All of the fields for a feedback form include a feedback slider where they can select the scale on which they will measure each feedback point. By default, the sliders are set at 0-10.
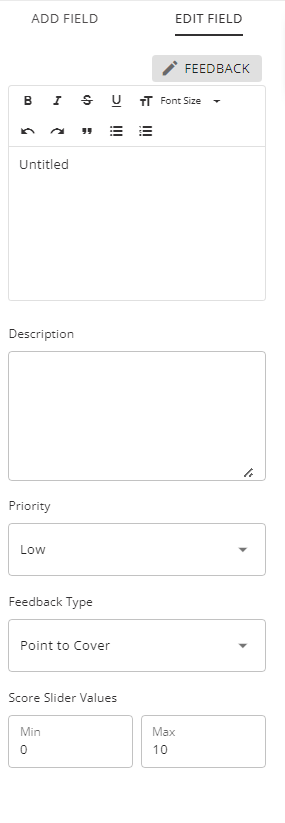
In the first text box, the recruiter can enter what they want to test the candidate on during the interview e.g., their experience or skills. In the second text box, they can provide an explanation of the criteria e.g., which specific skills or specific experience. They can then set the priority of that field as low, medium, or high. Lastly, they can set what feedback type the field contains:
-
Points to Cover - These feedback fields appear during the interview on a sidebar, so the interviewer can answer them during the interview.
-
Feedback Score - These feedback fields appear in the pop-up window when the interviewer clicks on 'Complete Interview'
The order of feedback fields can be changed by dragging the box into the desired order.
See below an example of a completed feedback form to be used during an interview:
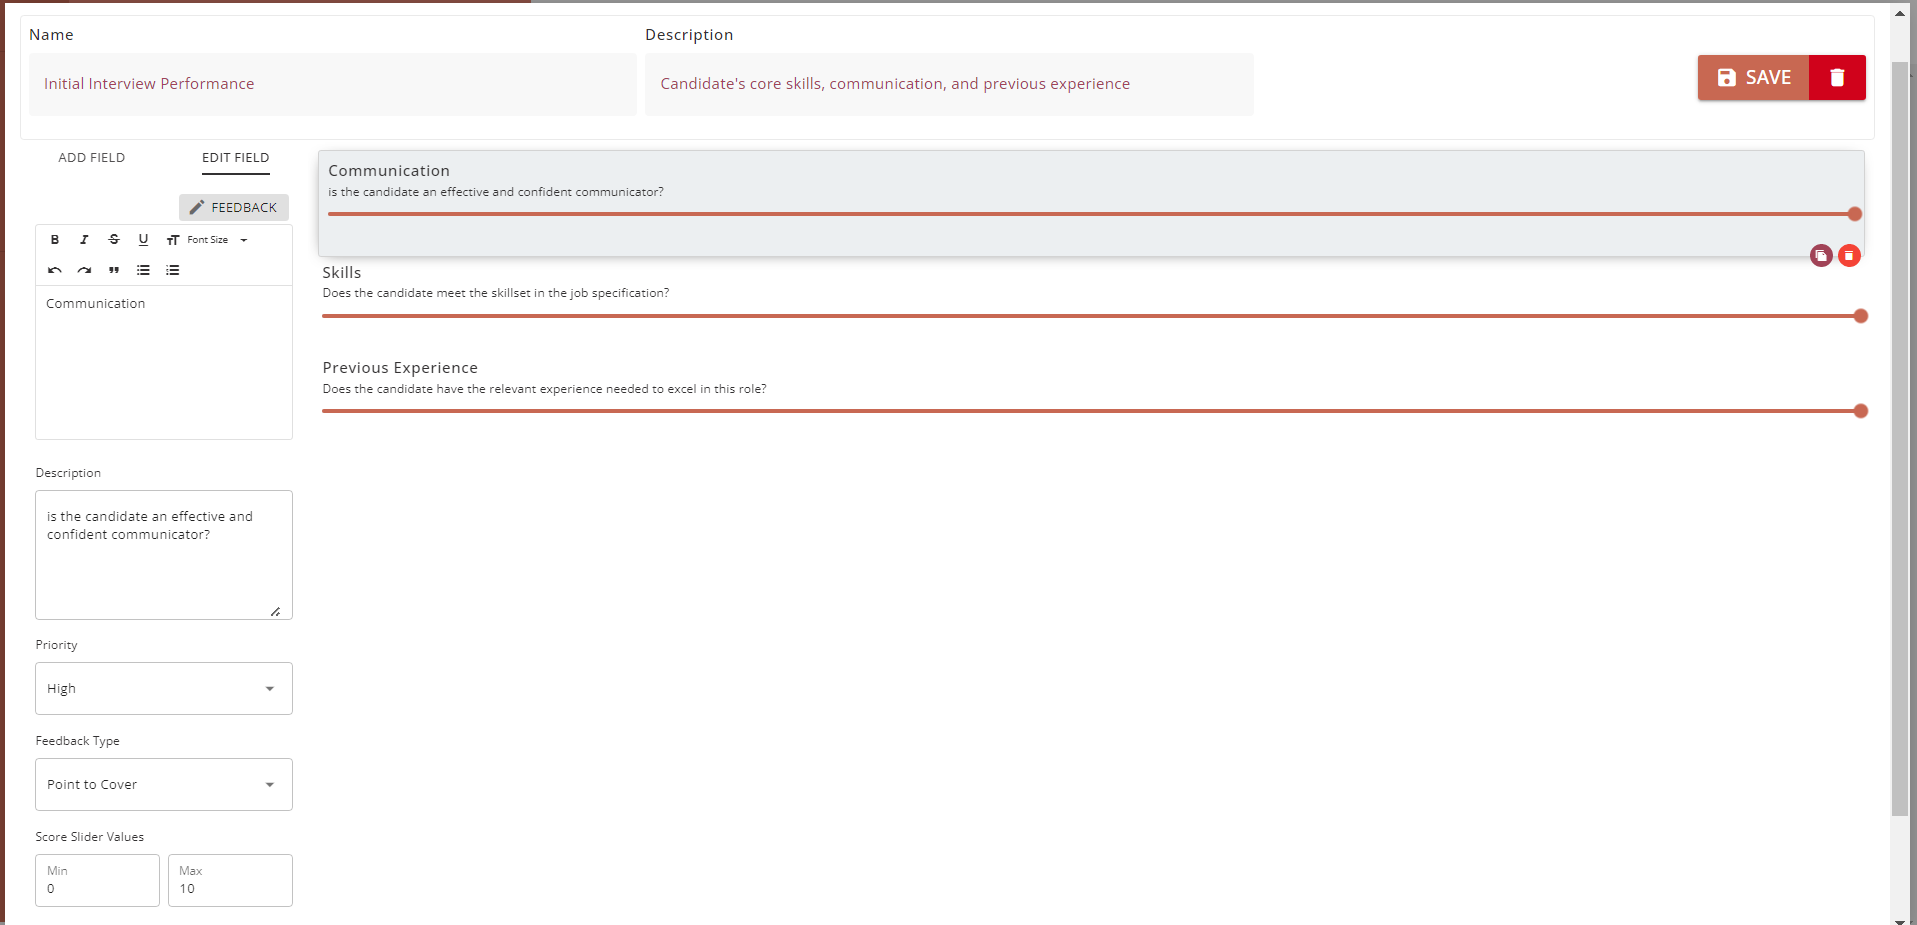
Once the feedback form has been saved by the recruiter, it will be ready for selection in the Campaign Workflow page in the Campaign Builder.